How to Install Vinyl Flooring on Concrete Basement
We installed wood look vinyl plank over concrete floors in our basement- here's what I've learned from doing it a couple times and tips for installing your own!
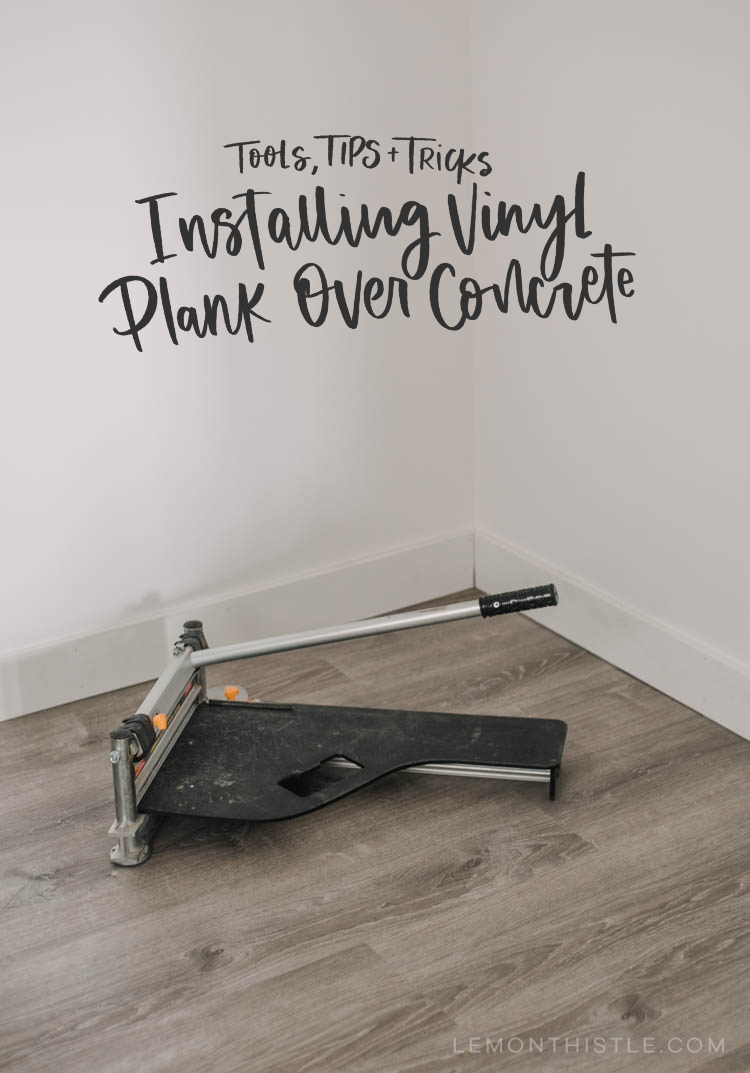
We're making progress on my office makeover (see the plans here!) and it feels so good, you guys! Flooring went down last week and that always takes a project from 'work site' to 'almost finished' in a hot minute. And then baseboard is another leap forward… it's so exciting! Today I'm sharing some tips, tools, and tricks to installing vinyl plank over concrete. This is the second time we've done our concrete basement using vinyl plank flooring (see the last place here!) and this time it went SO much smoother.
I did this whole room by myself completely in two evenings (and about half an hour the next day) and feel confident that these tips (and tools!) will help you if you want to do the same. First thing? Let's talk about what I will ALWAYS look for in the flooring I choose from now on.
I'm partnering with The Home Depot Canada on my office makeover (yay!) so chose a flooring that their staff had recommended. It's LifeProof Luxury Vinyl Plank in Sterling Oak and honestly, I only looked at the durability and the colour before choosing it. I didn't look at how it attaches. I just assumed they were all the same. So other than the obvious things like that… I will now check how they interlock.
The way vinyl plank or tiles work is that they interlock as you lay them (put them down at an angle and as you flatten, they lock. BUT putting them down on an angle one way is great… but then how do you get that side edge to also interlock… without pulling up the row ahead of it? Does that make sense? You somehow need to tilt up the tile to lock into the row before it but also the tile beside it. Pain. Total pain. This is what our last house had for the basement. We got it done. But there was definitely frustration. This is also what we tried helping friends install in a warehouse a couple weeks ago. We gave up and ordered pizza.
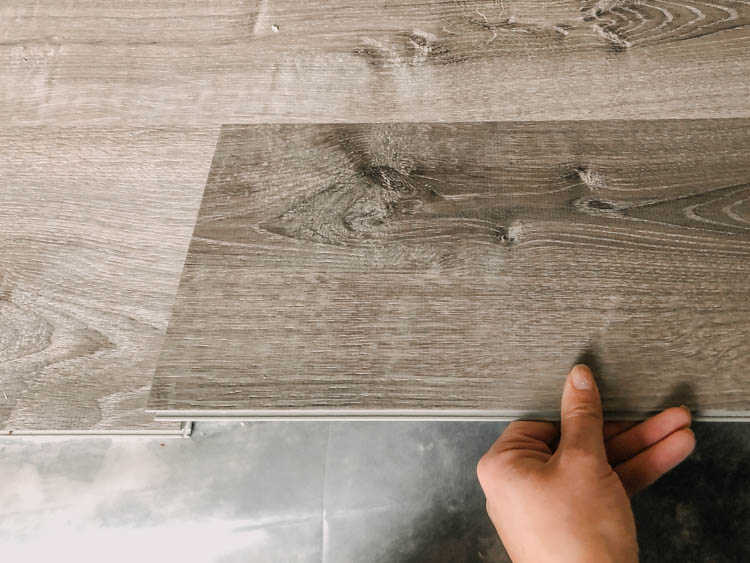
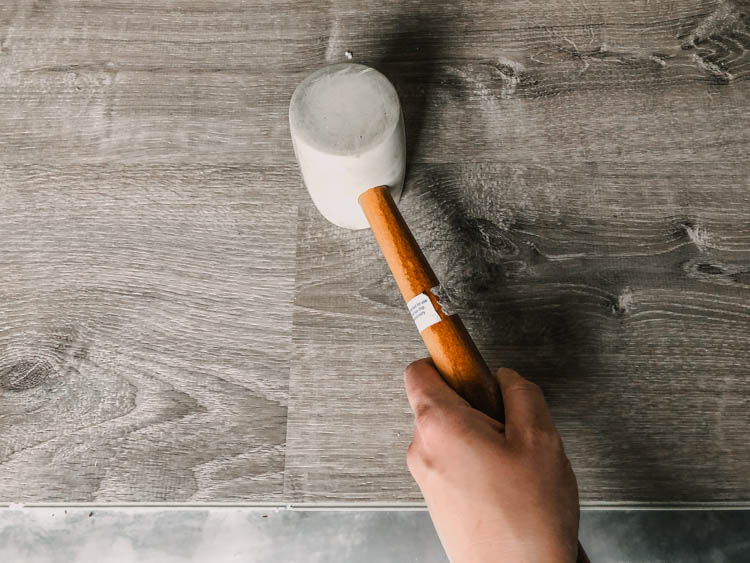
Our laminate floor that we installed in the whole main floor interlocks to the row before it, but then sits in a groove of the board next to it. Simple. This vinyl plank for this space? Is kind of a combination of the two. It interlocks with the row in front of it. But then it clicks in to the plank beside it. You line it up (after interlocking with the row before) and use a mallet to click it into place. This locks it. It's fantastic. This was the one thing that helped me move so quickly down there. It doesn't pop out as you lay the next piece then- it's locked in place!
Alright… so with that out of the way… let's talk about underlay!
Before you get to the underlay, just note that you need to clean your concrete (remove debris) and fill any large holes. This flooring has underlay attached. With plywood subfloor- that's totally enough. But with concrete? Moisture will get through, so even if you don't add an additional underlay, you do need to seal the concrete. The flooring associate at The Home Depot Canada suggested using vapour barrier with tuck tape to seal the concrete. Done- we had both on hand.
A couple things to consider here. Vinyl plank is much warmer than tile. We found it great in our last basement and had no underlay or vapour barrier at all (oops). I knew I didn't want to drop a lot of money on underlay for my office and have it higher than the rest of the basement (for a good one, it is thick), especially when I wear slippers most of the time in the winter and it's ONLY for me. That's the most mom thing to say ever, isn't it? If it was our kids room down here… you bet we'd probably be debating a quality underlay more. But the one attached to the back of the vinyl plank with the vapour barrier was more than enough for our purposes. So far? MUCH warmer than when we just had concrete!
After laying the underlay or vapour barrier or whatever you choose to use, it's time to get flooring! Vinyl plank is a floating floor which means you don't ever actually attach it to the underlay. You just lay it over top. You leave enough of a gap around the edge that it can expand, contract, flex, whatever but that it's hidden by baseboard. The hardest part about it floating is to keep it square as you work. I usually do a couple rows, square it up, then move boxes of flooring onto the already finished portion to hold it in place while I work. You can see me doing that in this video.
I did this one whole room in the first night, the second room in the second night (my office is two small rooms). Here's the tools that I used that made it go much quicker than the last time we did this!
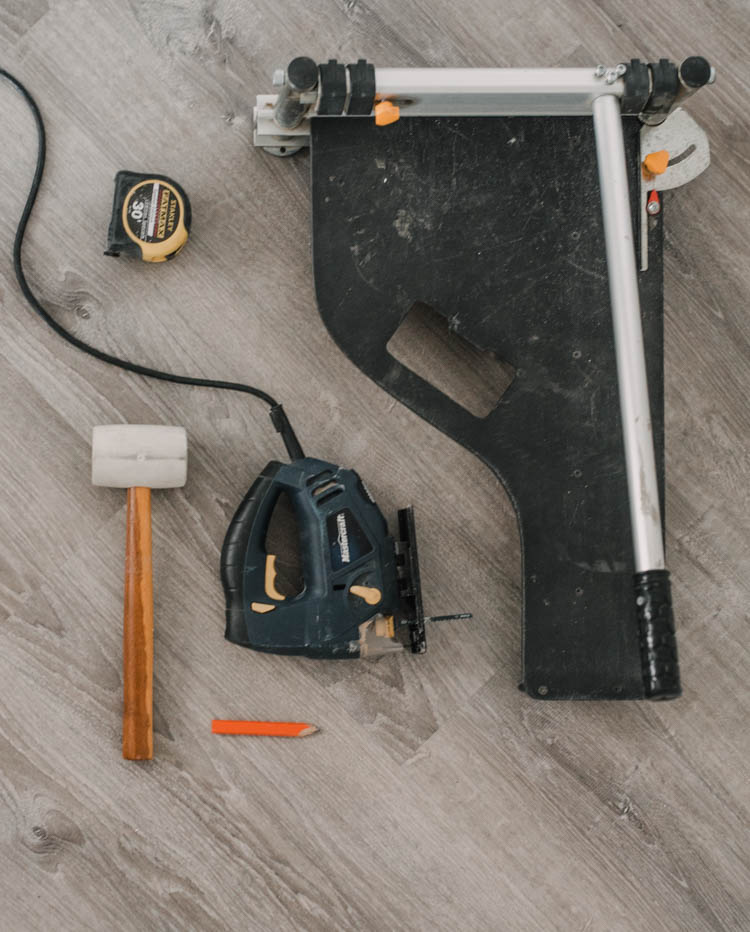
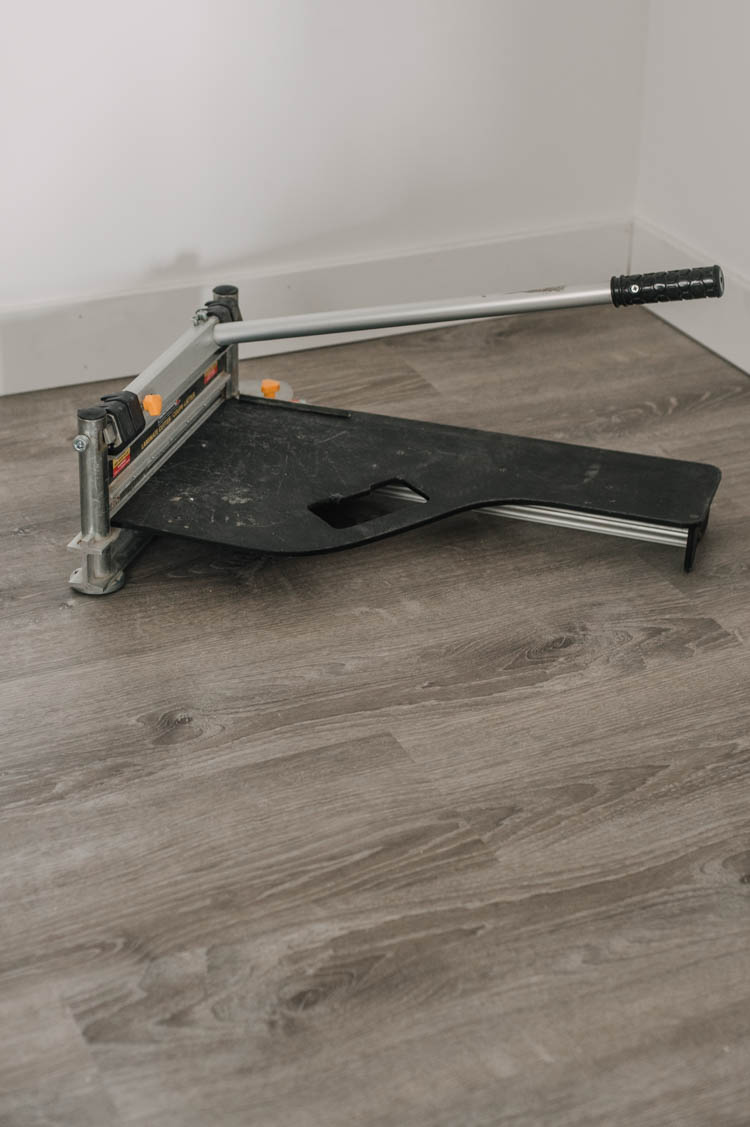
- Laminate Cutter
- Jigsaw with fine tooth blade
- Pencil, Tape Measure, Mallet
This is the laminate cutter we have and it works just as beautifully on vinyl as it does with laminate. We've used it for both. Last time we did this (laying vinyl plank over concrete), we scored the vinyl with a knife and a square, then snapped it. For rounded areas or tricky cuts, we did the same, but with lots and lots of pressure and scoring over and over. Shane found this okay to do but I sure struggled- I just don't have the strength in my wrists. This cutter let me cut pieces easily with one hand- and even on the tougher pieces (I've cut a few different kinds with this), it just takes standing up to get leverage and then it's easy.
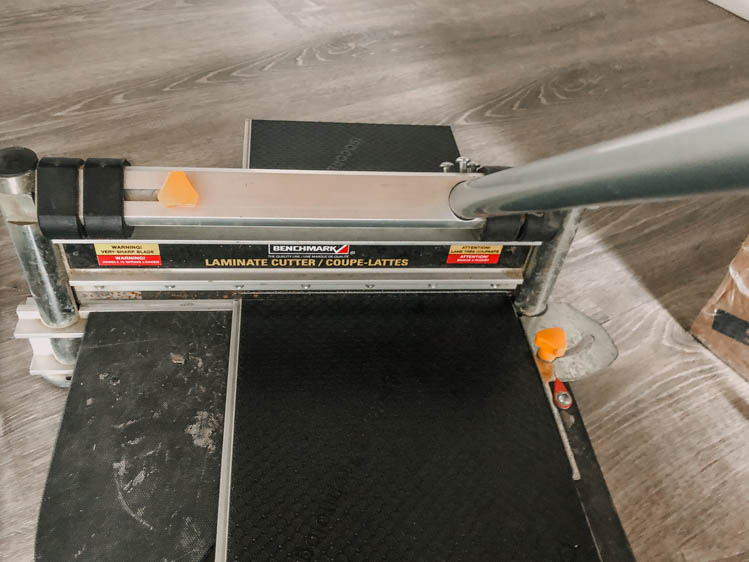
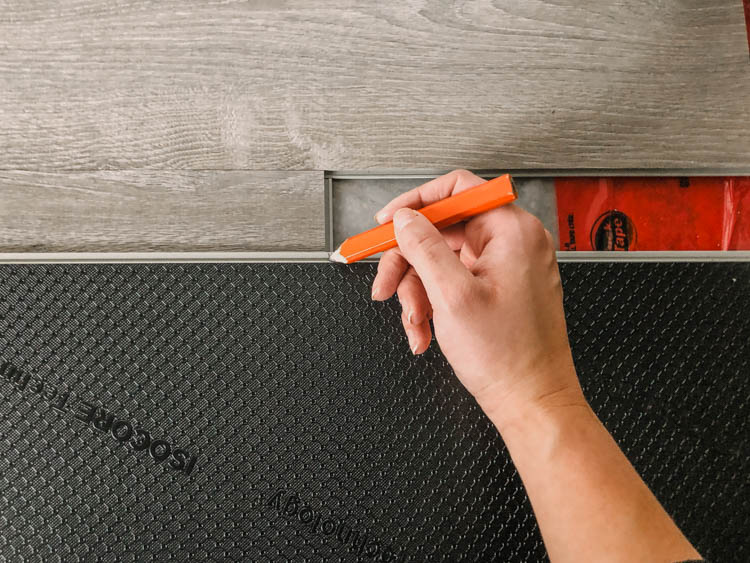
I love shortcuts. One trick for measuring the flooring cuts without pulling out a tape measure is to line your board up (make sure the tongue is on the right edge) then flip it hand over hand/end over end to mark where you need to cut. This makes sure you cut so the right edge is cut (not the one you need to attach!).
The last tip is for those tricky cuts. Somehow I didn't take a photo of this… I really thought I did! For those- I used a jigsaw. This was by far the biggest time saver of all these tips for me. Last time I would stop when I got to a tricky cut and wait for Shane to come home and do it. This time I whipped right through all the cuts.
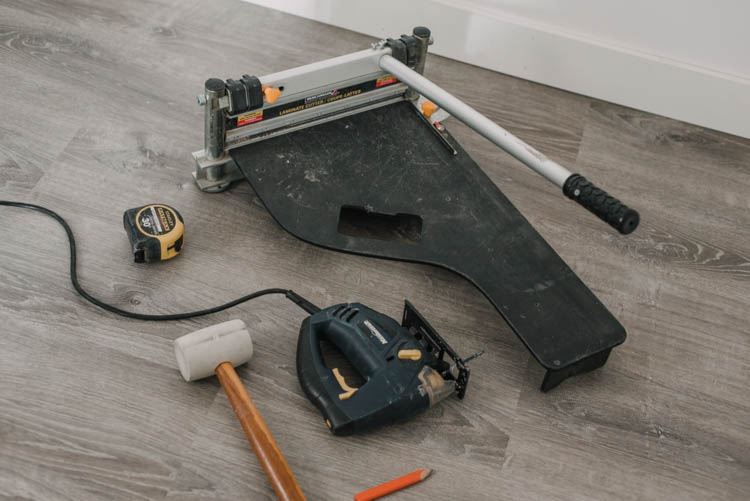
Alright, I'm going to leave it at that! I'm so happy with how the flooring is looking and really pleased with how quickly it went down. I was a bit nervous that the Sterling Oak colour would be too cold in colour but even though it's a grey it has a warm undertone that I'm loving in the space! I can't wait to pull the rest of the space together and show you!
How to Install Vinyl Flooring on Concrete Basement
Source: https://www.lemonthistle.com/tips-for-installing-vinyl-plank-over-concrete-floors/